8 August 2026
Why Diamond Painting Drills Pop: Causes and Solutions
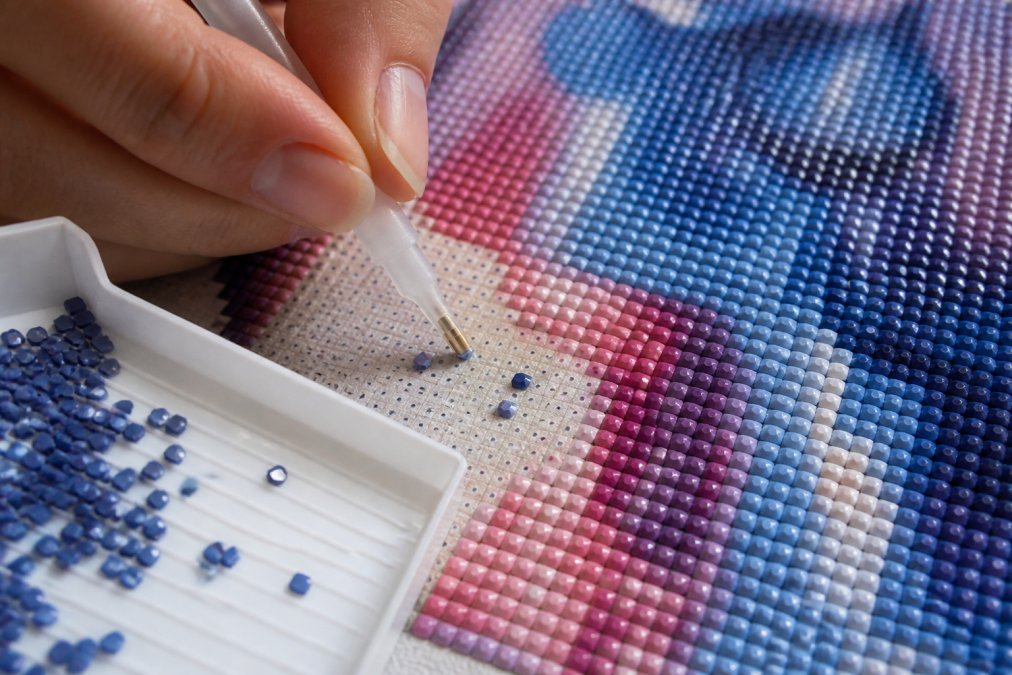
Table of Contents
- Why Diamond Painting Drills Pop: The Core Issue
- Common Causes of Popping Drills
- Best Glue for Diamond Painting and Adhesive Quality
- How to Seal Diamond Painting and Prevent Popping
- Fixing Diamond Painting Drill Gaps and Lifting
- Canvas Preparation and Drill Storage Techniques
- Square vs. Round Drills: Which Pop Less?
- Repairing Finished Projects with Popped Drills
Last Updated: August 9, 2026
Why Diamond Painting Drills Pop: The Core Issue
Diamond painting drills pop when the adhesive bond between the drill and canvas fails due to weak adhesive formulation, improper application technique, environmental stress, or manufacturing defects. Understanding this problem is essential for completing projects successfully and achieving the polished, gallery-ready finish serious artists expect.
At Jeanne Argent Atelier, we've analyzed the technical factors behind this issue because our premium full-drill kits are designed to eliminate it entirely. The difference between a kit that holds beautifully and one that fails comes down to adhesive quality, canvas preparation, application technique, and environmental management.
This guide covers what causes drills to pop, how to prevent it, and how to repair finished projects when popping occurs.
Common Causes of Popping Drills
Weak Adhesive Layer
The primary culprit is inadequate adhesive quality or insufficient coverage on the canvas. Budget kits often use thinner adhesive layers or lower-quality acrylic-based glues that lose tackiness over time. Premium adhesives maintain consistent tackiness across the entire canvas and resist degradation from environmental exposure.
The adhesive must be formulated to maintain flexibility as the canvas expands and contracts with humidity changes. Rigid adhesives crack; adhesives that are too soft don't provide enough grip. The ideal formula is a flexible acrylic adhesive that grips firmly without becoming brittle.
Improper Application Technique
Pressing drills with inconsistent pressure creates weak bonds in some areas while over-compressing others. The correct technique involves consistent, moderate pressure applied straight down until the drill meets resistance. Multi-placer tools help by distributing pressure evenly across multiple drills simultaneously.
Drills that aren't perpendicular to the canvas experience lateral stress that eventually causes them to pop free. Taking time to ensure each drill is straight and fully seated prevents this problem.
Environmental Factors: Humidity and Temperature
Humidity and temperature fluctuations cause the canvas to expand and contract, stressing the adhesive bond. High humidity softens adhesives, reducing grip; low humidity makes them brittle. Store your work in a climate-controlled environment between 65-75°F with 40-50% humidity to maintain adhesive integrity.
Static electricity in dry environments can cause drills to shift during storage, particularly if canvas is stored in plastic. Using anti-static storage solutions and maintaining adequate humidity reduces this risk.
Drill Sizing and Quality Control Issues
Inconsistent drill sizing creates gaps between drills and the canvas grid. Square drills require precise sizing to fill their grid squares completely; round drills are more forgiving of minor inconsistencies. Quality control during manufacturing ensures consistent sizing, but budget kits sometimes skip this step.
The resin or acrylic coating on each drill affects adhesion. Drills with uneven coating thickness or missing coating won't bond uniformly. Premium drills have smooth, consistent coating that maximizes surface contact.
Best Glue for Diamond Painting and Adhesive Quality
Canvas manufacturers typically use water-based acrylic or synthetic resin-based adhesives. Water-based acrylics are common in budget kits but lose tackiness faster and are more sensitive to humidity. Synthetic resin-based adhesives maintain consistent grip longer and resist environmental stress better.
The adhesive layer thickness matters as much as the formula itself. A thick, consistent layer provides more margin for error in application technique and environmental exposure. When selecting a kit, inspect the canvas edge to see adhesive layer thickness, thicker is better.
Jeanne Argent Atelier uses high-quality acrylic adhesive formulated to resist tackiness loss over extended periods, ensuring your drills remain secure for years after completion.
How to Seal Diamond Painting and Prevent Popping
Sealing your finished diamond painting protects it from environmental stress and extends the life of the adhesive bond. Apply sealant only after all drills are fully placed and the adhesive has cured for at least 24 hours. Use a thin, even coat applied with a brush or spray, avoiding over-saturation which can soften the underlying adhesive.
After sealing, allow the sealant to cure completely (typically 24-48 hours) before framing or storing. Framing provides additional protection by keeping the canvas in a stable environment and preventing physical damage. UV-protective glass reduces light exposure, which can degrade adhesives over time.
Fixing Diamond Painting Drill Gaps and Lifting
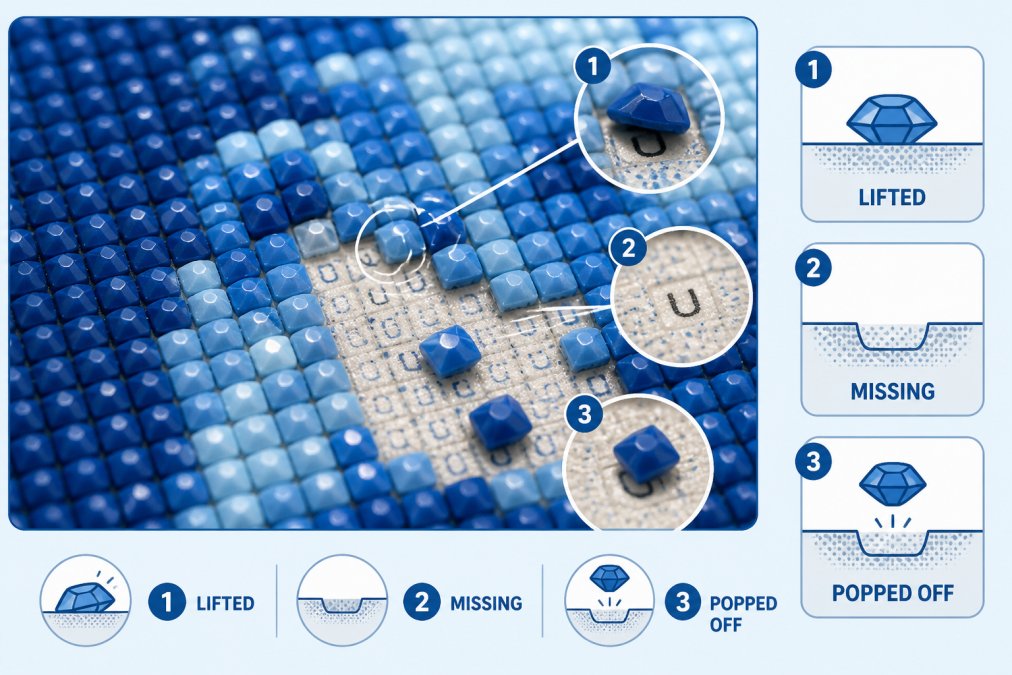
For isolated drills that have lifted slightly, apply gentle downward pressure with your placer tool. If the drill re-seats firmly, the adhesive still has grip. If it feels loose, apply a small amount of clear craft glue or diamond painting adhesive to the canvas square, then re-seat the drill.
For drills that have completely popped off, inspect the canvas square for residual adhesive. If adhesive remains, clean it away gently and apply fresh adhesive before placing a replacement drill. If no adhesive remains, apply a small amount of fresh adhesive, allow it to become tacky (30 seconds to 1 minute), then place the drill firmly.
If you notice widespread lifting across multiple areas, the canvas adhesive layer may be failing. You can repair affected areas individually, or systematically lift all drills in the affected area, clean the canvas, apply fresh adhesive, and re-place the drills.
Canvas Preparation and Drill Storage Techniques
Inspect your canvas for creases, wrinkles, or areas where the adhesive layer appears thin or uneven. Gently flatten the canvas by placing it under a heavy, flat object for several hours. Allow it to rest for 24 hours before beginning work.
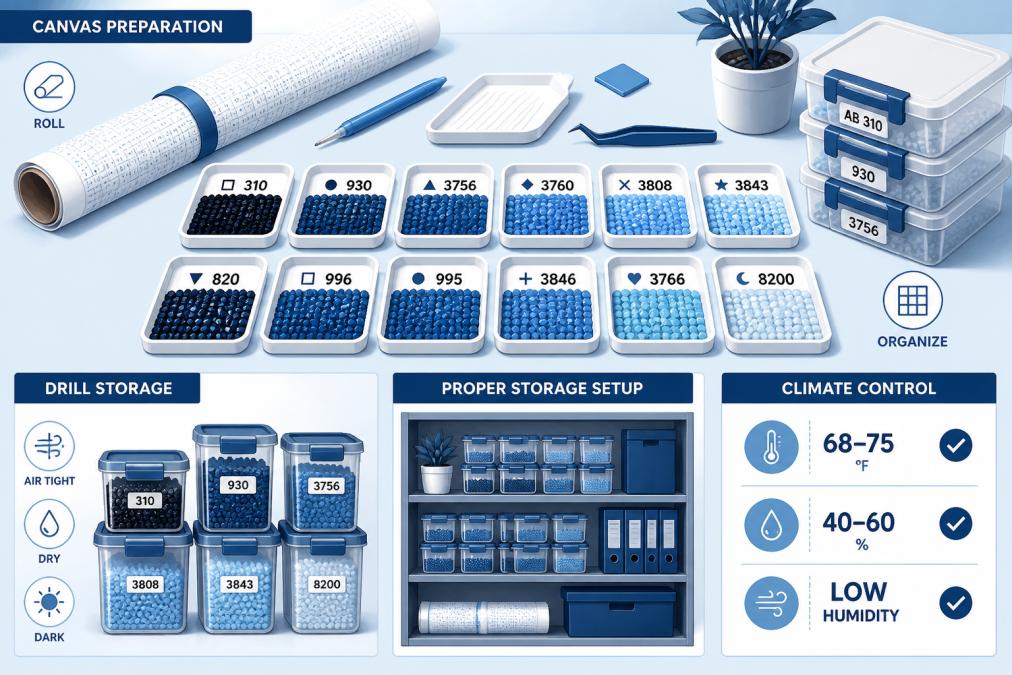
Store work-in-progress and completed projects in a cool, dry environment away from direct sunlight. Use sealed plastic containers or acid-free storage boxes to protect from dust and humidity fluctuations. If you must store canvas rolls, roll them with the drill side facing outward to minimize pressure on the adhesive layer.
Keep drill trays organized and sealed when not in use. Use silica gel packets or a small dehumidifier in your storage area to maintain humidity between 40-50%. If you notice condensation forming on stored canvases, increase air circulation and reduce humidity immediately.
Square vs. Round Drills: Which Pop Less?
Square drills fit snugly into grid squares, creating a mechanical lock that supplements the adhesive bond. This tight fit provides extra stability, especially with precise sizing and accurate canvas grids. Round drills rely more heavily on adhesive grip since they don't fit into a defined grid square, making them more sensitive to adhesive quality and application technique.
However, round drills are more forgiving of minor sizing inconsistencies and grid misalignment. For serious artists concerned about long-term stability, square drills are generally the better choice, providing a dual-lock system. Round drills work well for projects displayed in stable environments with consistent temperature and humidity.
Repairing Finished Projects with Popped Drills
If your completed project develops popped drills months or years later, you can repair it without removing all the drills. Start by identifying all popped drills and assessing the canvas.
For individual drill replacement, apply a small amount of fresh adhesive to the empty canvas square using a toothpick or small brush. Wait 30-60 seconds for the adhesive to become tacky, then place a replacement drill firmly into position.
For more extensive repairs affecting multiple drills in one area, consider applying a thin layer of fresh adhesive across the affected region. Some crafters use spray adhesive designed for diamond painting, which allows more precise application. Apply light, even coats and allow each coat to become tacky before pressing drills into place.
After completing repairs, allow the adhesive to cure for at least 24 hours before moving or framing the project. If you've used a sealant on the original project, apply a fresh coat over the repaired area to ensure consistent protection.
Diamond painting drills pop due to weak adhesive, improper placement, environmental stress, and manufacturing inconsistencies. The solution involves selecting kits with high-quality adhesive, using proper application technique, maintaining stable storage conditions, and sealing finished work. Jeanne Argent Atelier's premium full-drill kits address these factors through superior adhesive formulation, precision manufacturing, and specialized tools like our ergonomic drill pens and organized trays that make consistent, correct placement easier. Discover how our commitment to quality materials and design prevents the frustration of popping drills, explore our curated collection and experience the difference that premium craftsmanship makes in your diamond painting projects.
Frequently Asked Questions
Why do diamond painting drills pop off even when I apply pressure?
Drills pop primarily due to weak adhesive, improper pressure application, or environmental stress. If you're pressing firmly but drills still lift, your canvas adhesive may have lost tackiness from age, heat, or humidity exposure. Premium kits use higher-quality adhesive layers that maintain tackiness longer. Check that you're applying consistent downward pressure for 2-3 seconds per drill, and store your canvas flat in a cool, dry place between sessions to prevent adhesive degradation.
What's the best glue for diamond painting if drills keep popping?
The best glue for diamond painting is a specialized diamond painting adhesive or a high-tack, acid-free craft glue designed for canvas. Most premium kits use pre-coated canvas with factory adhesive, which is superior to adding glue later. If you need to reapply, use a thin, even layer of glue pen or brush-on adhesive formulated for diamond painting. Avoid super glue or permanent adhesives, as they can damage the canvas and make repairs impossible. For popped drills, a small dot of tacky glue on the back of the drill often works better than adding more adhesive to the canvas.
How do I seal diamond painting to prevent drills from popping after completion?
To seal diamond painting and lock drills in place, apply a clear acrylic sealer or resin coating over the finished work. Use a spray sealer for even coverage or a brush-on acrylic varnish, applying thin, even coats. Allow each coat to dry completely before adding another. This seals the top of the drills and strengthens the bond with the canvas. For extra protection, some crafters apply a light adhesive layer to the back of the finished canvas before framing or displaying. Sealing also protects against dust and minor handling.
Why do diamond painting drill gaps appear, and how do I fix them?
Diamond painting drill gaps occur when drills shift, lift, or fail to seat properly in the grid. Common causes include uneven pressure during application, drills that are slightly oversized or undersized due to quality control issues, and canvas grid misalignment. To fix gaps, gently press lifted drills back into place using your applicator tool, or remove and reapply them with a small amount of tacky glue. Prevention is easier: apply drills with consistent pressure, ensure your canvas is flat and clean before starting, and store finished sections flat to prevent drills from shifting.
This article was written using GrandRanker