6 September 2026
7 Best Alternatives to Wax for Diamond Painting in 2026
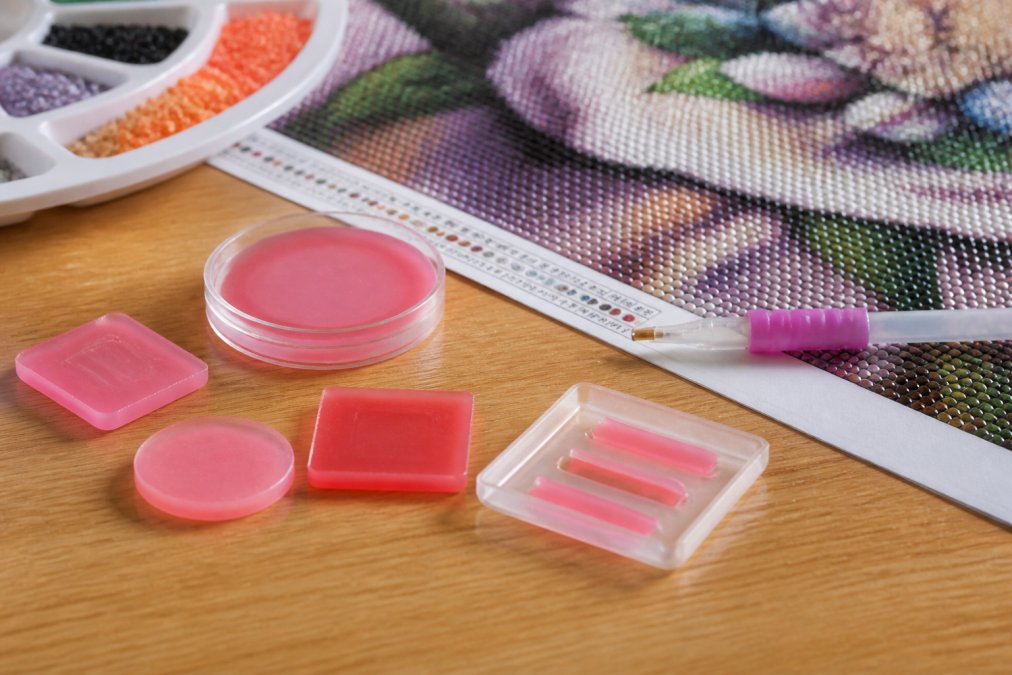
Table of Contents
- Why Standard Kit Wax Falls Short
- Diamond Painting Putty: The Top Wax Alternative
- Pure Beeswax: A Natural Substitute for Wax for Diamond Painting
- Precision Tweezers: Going Adhesive-Free
- How to Apply and Store Alternative Adhesives
- Troubleshooting: Residue, Temperature, and Long-Term Safety
- Best Diamond Painting Tools for Beginners
- How to Organize Diamond Painting Drills for Faster Work
- Frequently Asked Questions
Last Updated: September 7, 2026
Standard kit wax is the weakest link in most diamond painting setups. It dries out, crumbles, and loses its tackiness halfway through a project, forcing you to stop and reload your applicator pen just when you hit a rhythm. Finding the best alternatives to wax for diamond painting means choosing an adhesive that matches your pace, your grip, and the long-term safety of your finished canvas. In this guide from Jeanne Argent Atelier, we break down seven proven substitutes, from reusable putties to going completely adhesive-free, so you can keep placing drills without the frustration.
The good news is that you likely already own a viable replacement. The better news is that the right choice depends on how you work. A speed-focused painter needs a different solution than someone who prioritizes archival safety or hand comfort. Below, we'll show you exactly how to match an adhesive to your style, how to apply it correctly, and how to avoid the residue problems that plague cheap alternatives.
Why Standard Kit Wax Falls Short
Most diamond painting kits ship with a small square of pink or blue wax that seems convenient at first. Within a few sessions, its limitations become obvious. The primary issue is that this wax is formulated for short-term tack, not sustained use, so it dries out quickly when exposed to air and loses its grip on the resin drills.
A common mistake is pressing harder to compensate for lost tackiness. This actually makes things worse, as increased application pressure can bend the applicator tip and cause misalignment. The wax also picks up lint and dust from your workspace, which coats the surface and reduces its stickiness further. You end up reloading the pen every few minutes, which breaks your concentration and slows your progress considerably.
What most guides miss is that kit wax is also a hygiene concern. It sits exposed in the tray, collecting debris, and you repeatedly press it into the pen tip. For crafters who work for hours at a time, switching to a more durable and cleaner alternative improves both the workflow and the finished result.
Diamond Painting Putty: The Top Wax Alternative
Diamond painting putty is the most effective direct replacement for standard wax because it maintains its tackiness far longer and is fully reusable. Unlike wax, which crumbles, putty stays pliable and can be kneaded back to shape, making a single purchase last through multiple large projects. This is the top choice for painters who want a simple swap with no learning curve.
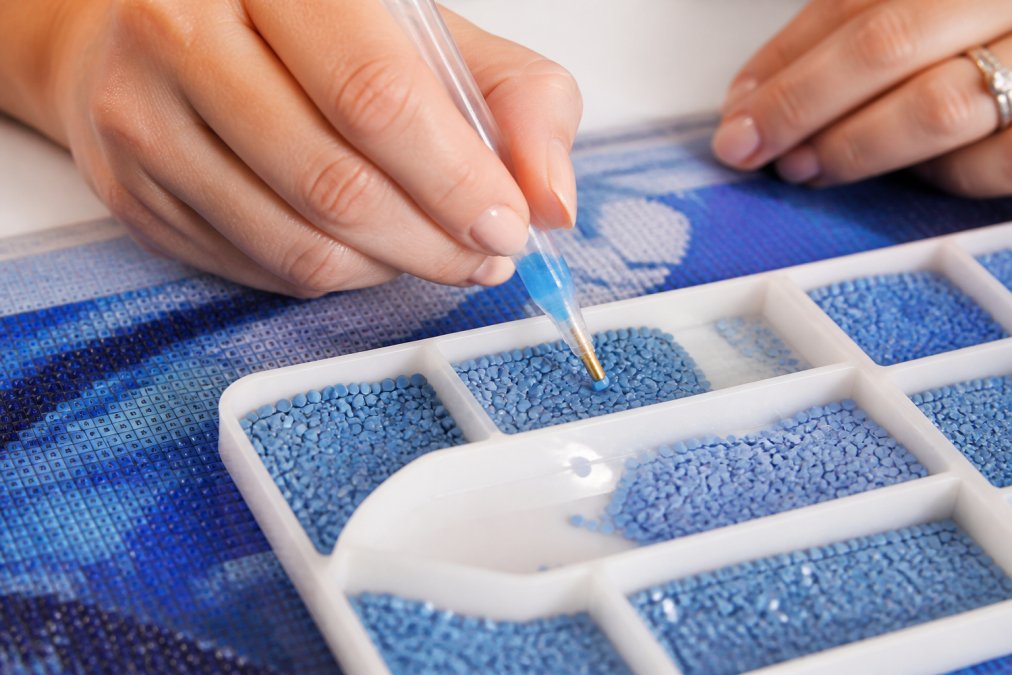
The application method is identical to wax. Press the hollow applicator tip into the putty, withdraw it, and you will see a small plug of adhesive inside. Touch it to the top of a drill, and the tackiness lifts it from the tray. When the plug loses its grip, knead the putty block between your fingers to expose fresh surface, then reload. This refresh cycle takes seconds and keeps your pace steady.
Blu Tack vs. Museum Putty vs. Poster Putty
Not all putties perform the same, and the differences matter for your project quality. Here is a quick comparison of the three most common options.
| Putty Type | Tackiness | Longevity | Best For | Typical Cost |
|---|---|---|---|---|
| Blu Tack | Medium | High, stays pliable for months | General use, all drill sizes | $3.00 - $6.00 |
| Museum Putty | Strong | Very high, resists drying out | Larger or heavier drills | $5.00 - $8.00 |
| Poster Putty | Low to medium | Varies by brand | Budget-friendly household use | $2.00 - $5.00 |
Blu Tack is the balanced all-rounder (bostik.com). It offers consistent stickiness, leaves no residue on drills, and is non-toxic, making it safe for extended crafting sessions. Museum putty provides a stronger grip, which helps when you are placing larger resin drills that standard wax cannot lift reliably. Poster putty is the most affordable and widely available, but its consistency varies by manufacturer, so test it before committing to a large section of canvas.
Pure Beeswax: A Natural Substitute for Wax for Diamond Painting
For crafters who prefer natural materials, pure beeswax is a traditional substitute for wax for diamond painting that performs admirably. Beeswax has a firmer consistency than kit wax, which translates to more precise drill placement and less accidental sticking to neighboring drills. It is also biodegradable and free of synthetic additives, appealing to eco-conscious hobbyists.
Working with beeswax requires slightly more preparation. The block is firm, so you need to shave off a small piece or soften it with body heat before loading the pen. Roll a pea-sized amount between your fingers until it is pliable, then press it into the applicator tip. The firmer hold means you can place drills with greater accuracy, particularly along straight edges where alignment is critical.
The trade-off is longevity. Pure beeswax can dry out faster than synthetic putties, especially in low-humidity environments. Store it in an airtight container between sessions, and consider mixing in a drop of mineral oil if it becomes too brittle. Many painters find that the cleaner finish and natural composition justify the extra maintenance.
Precision Tweezers: Going Adhesive-Free
Precision tweezers eliminate the adhesive question entirely. Instead of picking up drills with a wax-coated tip, you grip the drill directly with fine-point stainless steel tips and place it onto the canvas. This approach offers zero maintenance, as there is no wax to refill or putty to knead, and it provides unmatched control for straight-line placement.
The learning curve is the main hurdle. Picking up a tiny resin drill with tweezers requires a steady hand, and beginners often find it slower than using a pen. However, for advanced painters working on intricate sections, the precision is worth the adjustment period. Tweezers also excel at fixing mistakes, as you can lift a misaligned drill without disturbing its neighbors.
Ergonomics matter here. Look for tweezers with a comfortable grip and a tip angle that suits your natural hand position. For painters with arthritis or hand fatigue, the pinching motion can be tiring over long sessions, so reserve tweezers for detail work and use a putty-loaded pen for large color blocks.
How to Apply and Store Alternative Adhesives
Proper application and storage extend the life of any adhesive and protect your canvas from damage. The core principle is to keep the adhesive on the pen tip and off the canvas. When loading the applicator, press gently and withdraw straight up to avoid creating a messy plug that transfers excess material.
For storage, airtight containers are essential. Putty and beeswax both dry out when exposed to air, so seal them after each session. Keep them away from direct sunlight and heat sources, as temperature fluctuations alter viscosity and tackiness. A small craft box with individual compartments works well for organizing different adhesive types.
Application pressure is another variable. Pressing too firmly flattens the putty plug and increases the risk of residue. A light touch, just enough to make contact with the drill's faceted top, is all that is required. If you find yourself pressing hard, your adhesive has likely dried out and needs replacement or kneading.
Troubleshooting: Residue, Temperature, and Long-Term Safety
Adhesive residue is the most common complaint when switching away from standard wax. If you notice a film on your drills or canvas, stop and assess the cause. Overfilled pen tips are the usual culprit, as is using a putty that is too soft for the ambient temperature. Remove residue gently with a dry microfiber cloth before the drill is permanently pressed into place.
Temperature sensitivity varies significantly between adhesives. Standard kit wax softens in warm rooms and becomes brittle in cold ones, which affects pick-up reliability. Putties generally handle temperature swings better, while pure beeswax is the most sensitive to heat. If your workspace is warm, store adhesives in a cooler area and load smaller amounts into the pen.
Long-term archival safety is a consideration that most quick-fix guides overlook. Some low-quality putties contain oils that can leach onto the canvas over months or years, potentially weakening the adhesive layer that holds your drills in place. Guidelines on archival crafting materials and adhesive safety recommend using acid-free, non-migrating adhesives for projects intended to last. Blu Tack and museum putty are generally safe choices, while unknown-brand poster putties carry more risk.
Best Diamond Painting Tools for Beginners
Selecting the best diamond painting tools for beginners goes beyond choosing an adhesive. The applicator pen itself matters, as does the tray you use to hold drills. A pen with a comfortable, non-slip grip reduces hand fatigue, while a multi-placer tip allows you to pick up multiple drills at once for faster coverage of large areas.
For those starting their first project, the Jeanne Argent Atelier kits include specialized drill pens and trays designed to make the work easier. These tools are engineered for consistent pick-up and placement, reducing the frustration that comes with generic kit accessories.
A light pad is another worthwhile investment. The bright surface illuminates the canvas symbols from below, making it much easier to read the chart and place drills accurately. This is especially helpful in the evening when ambient lighting is dim. Start with a small pad that fits your current project size.
How to Organize Diamond Painting Drills for Faster Work
Knowing how to organize diamond painting drills effectively can cut your project time significantly. The most common system is the divided storage container, where each compartment holds the drills for one symbol or color. Label each compartment with the corresponding symbol from your canvas chart to avoid constant cross-referencing.
Craft storage and organization best practices emphasize sorting drills before you begin, not during. Set aside 15 minutes to distribute all bags of drills into your container, verifying that each color matches its symbol. This upfront investment prevents the most common interruption: hunting for a specific color mid-row.
For larger projects, consider a rolling cart with multiple trays so you can keep active colors within reach and store completed sections safely. The key is to maintain a clean workspace, as loose drills from other colors are a primary source of placement errors. A funnel or small scoop helps transfer drills from bags to compartments without spillage.
Choosing the right adhesive for your diamond painting setup comes down to matching the material to your workflow. Putties offer the best balance of longevity and ease of use, while pure beeswax appeals to natural-material purists, and tweezers serve those who want absolute precision. Whichever you select, proper storage and clean application will protect your canvas and keep your drills secure for years. For a premium experience from start to finish, explore the full-drill kits from Jeanne Argent Atelier, which pair original artwork with specialized drill pens and trays that make every session more enjoyable. Get started with a Jeanne Argent Atelier kit and feel the difference that quality tools make in your next project.
Frequently Asked Questions
What is the best substitute for diamond painting wax?
Diamond painting putty, specifically brands like Blu Tack or museum putty, is the most reliable substitute. These putties offer stronger tackiness than standard kit wax and they do not dry out, so you refill your pen less often. They are also reusable and leave minimal residue on your drills and applicator tip, which keeps your canvas cleaner.
Can I use regular poster putty for diamond painting?
Yes, poster putty works well as a household alternative to wax for diamond painting. Look for a non-toxic, pliable brand like Duck brand poster putty. The consistency can vary by manufacturer, so test the tackiness first. If it feels too stiff, warm it in your hands for a few seconds before pressing it into your applicator pen.
How do I keep my diamond painting pen sticky without wax?
Switching to a diamond painting putty is the most effective way to keep your pen sticky. Blu Tack and museum putty hold their tackiness for months, unlike standard wax which hardens. You can also use pure beeswax, though it may require more frequent refills. For precision work, fine-point tweezers bypass the need for any adhesive.
Will alternative adhesives damage my diamond painting canvas?
Reputable putties like Blu Tack and museum putty are non-toxic and leave no oily residue, making them safe for long-term use. Avoid any adhesive with a strong chemical smell. When pressing drills, use light, even pressure to protect the canvas glue. If you do get residue on the canvas, remove it gently with a dry cotton swab.