12 August 2026
How to Clean Diamond Painting Drills
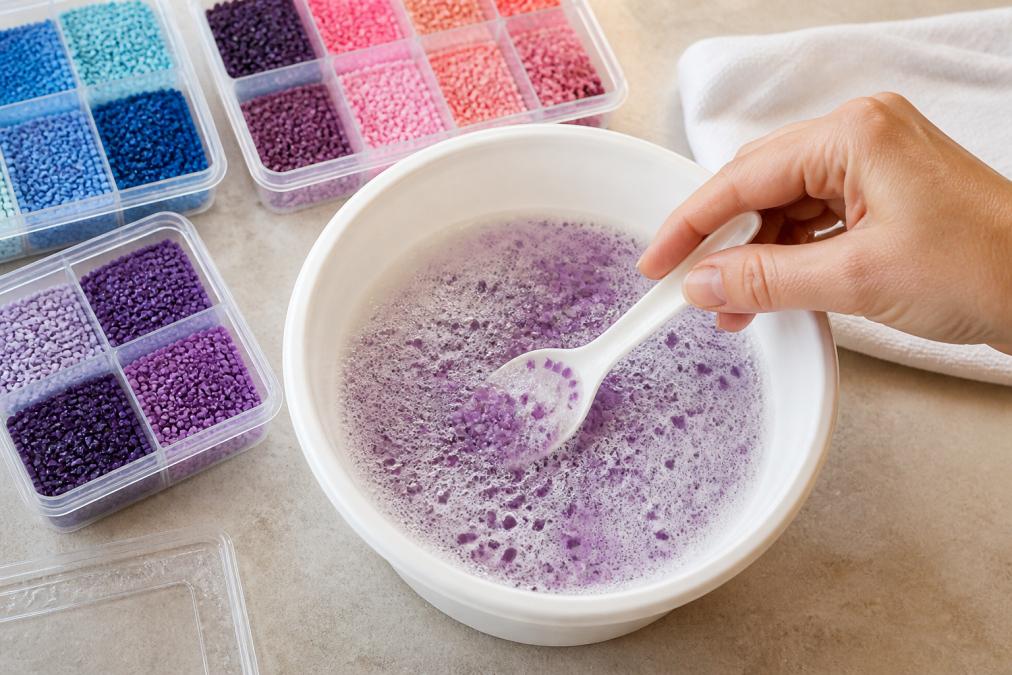
Table of Contents
- Why Diamond Painting Drills Get Sticky and Oily
- What You'll Need to Clean Diamond Painting Drills
- Step-by-Step Guide to Cleaning Your Drills
- Managing Static Electricity During Cleaning
- How to Store Leftover Diamond Painting Drills
- Best Tools for Diamond Painting Maintenance
- Common Mistakes to Avoid When Cleaning Drills
- Troubleshooting Damaged or Clumped Drills
Last Updated: August 13, 2026
Why Diamond Painting Drills Get Sticky and Oily
Diamond painting drills accumulate sticky residue and oily coatings during the creative process. Canvas adhesive transfers onto the drills as you place each bead, static electricity causes lint and dust to cling to the resin surface, and your skin's natural oils deposit onto every bead you handle. When these factors combine, your drills transform from smooth, individual beads into a frustrating clumpy mess.
This is especially problematic for serious hobbyists working on full-drill projects. When placing thousands of beads across a large canvas, sticky drills turn a meditative activity into a tedious battle. The good news: properly cleaned drills perform like new, and the process takes just minutes. The sticky residue isn't permanent damage, it's a surface coating that responds well to the right cleaning approach. Jeanne Argent Atelier designs premium full-drill kits with high-quality resin drills, so your focus stays on the creative work.
What You'll Need to Clean Diamond Painting Drills
Gather these supplies before you start. Most items are already in your home.
Essential supplies:
- Warm water (not hot)
- Dish soap (mild, non-abrasive)
- A mesh strainer or small colander
- Lint-free cloth or microfiber towel
- Baby wipes (unscented, alcohol-free)
- A small tray or container for soaking
- Tweezers (optional)
- Paper towels
Optional but helpful:
- Compressed air or air bulb
- Pantyhose or fine mesh fabric
- Sanitizer or rubbing alcohol (70% isopropyl)
- Small containers with lids
The mesh strainer is your most important tool, it allows water to drain while containing your drills so none escape down the sink. Have your supplies ready before you begin to keep the process efficient.
Step-by-Step Guide to Cleaning Your Drills
Step 1: Remove Debris from the Canvas
Before washing, remove loose debris clinging to your drills. Use compressed air or an air bulb to blow away loose dust and fibers. Hold the drill container at an angle and gently squeeze the air bulb, directing airflow across the surface. If compressed air isn't available, tap the container gently over a trash bin to dislodge loose particles.
For stubborn debris, use tweezers to gently pick away visible lint and dust. This preliminary cleanup makes the rinsing process more effective.
Step 2: Rinse with Warm Water and Dish Soap
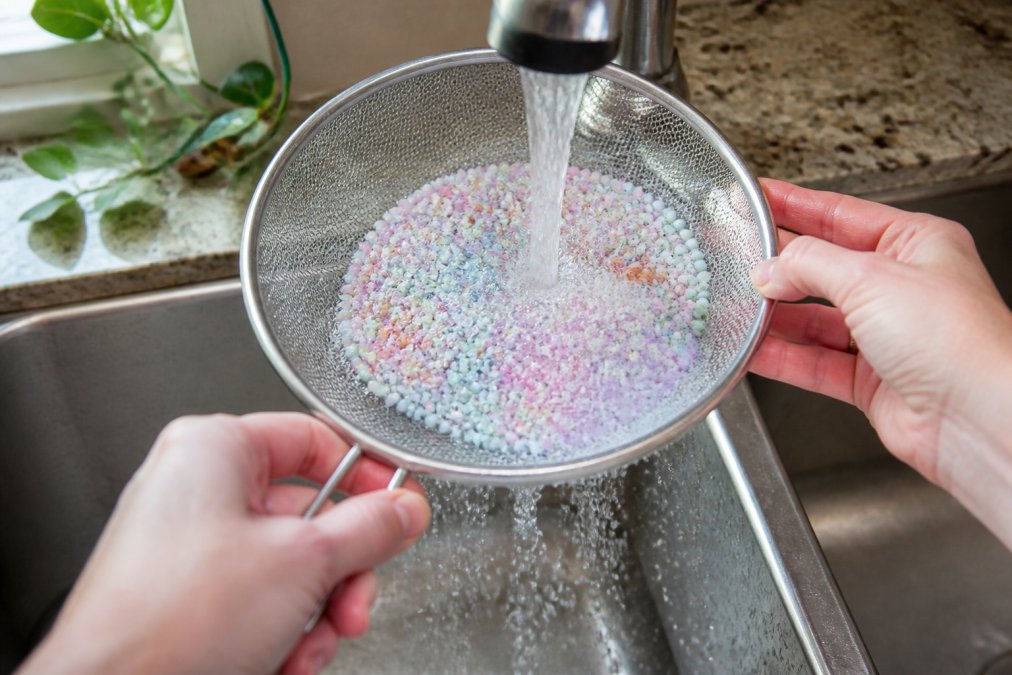
Place your drills in the mesh strainer and hold it under warm running water. Add a small drop of mild dish soap directly to the strainer. Gently agitate the drills for 30-45 seconds to break down sticky residue and oily coating. Rinse thoroughly until the soap is completely gone and water runs clear, at least 30 seconds after bubbles disappear.
For heavily soiled drills, soak them in warm soapy water for 2-3 minutes before rinsing. This gives soap time to dissolve stubborn adhesive residue.
Step 3: Use Baby Wipes for Quick Spot Cleaning
Baby wipes offer a fast solution for spot cleaning drills between major cleaning sessions. Grab an unscented, alcohol-free baby wipe and gently rub the surface of your drill pile. The moisture and mild cleansing agents remove fresh sticky residue before it hardens. This takes about 20 seconds and keeps your drills performing smoothly. Store baby wipes in a sealed container to prevent them from drying out.
Step 4: Dry Your Drills Properly
Lay your drills on a lint-free cloth in a single layer. Gently pat the surface with another lint-free cloth to absorb excess water. Allow the drills to air dry completely at room temperature for at least 2-4 hours. Avoid direct sunlight, which can fade resin colors. Once completely dry, store them in a clean, sealed container.
For faster drying, spread drills on a clean paper towel in a warm room with good air circulation. Do not use a hair dryer or heat source, as resin can warp under extreme heat.
Managing Static Electricity During Cleaning
Static electricity attracts dust, lint, and debris to the resin surface, undoing your cleaning work. After rinsing and before drying, reduce static buildup by slightly dampening the environment. A humidifier running in the room helps, or simply leave a small bowl of water nearby during drying.
When drying, place drills on a microfiber cloth rather than cotton towels, which generate more static. Some crafters use the pantyhose hack: lay clean drills on pantyhose stretched across a tray to reduce static while allowing air circulation underneath.
Store cleaned drills in glass or ceramic containers with sealed lids rather than plastic. Glass doesn't generate static electricity and provides better long-term protection.
How to Store Leftover Diamond Painting Drills
Use small containers with tight-fitting lids. Glass jars with rubber seals or plastic containers with snap-lock tops work well. Label each container with the drill color and project name to prevent mixing colors and simplify inventory management.
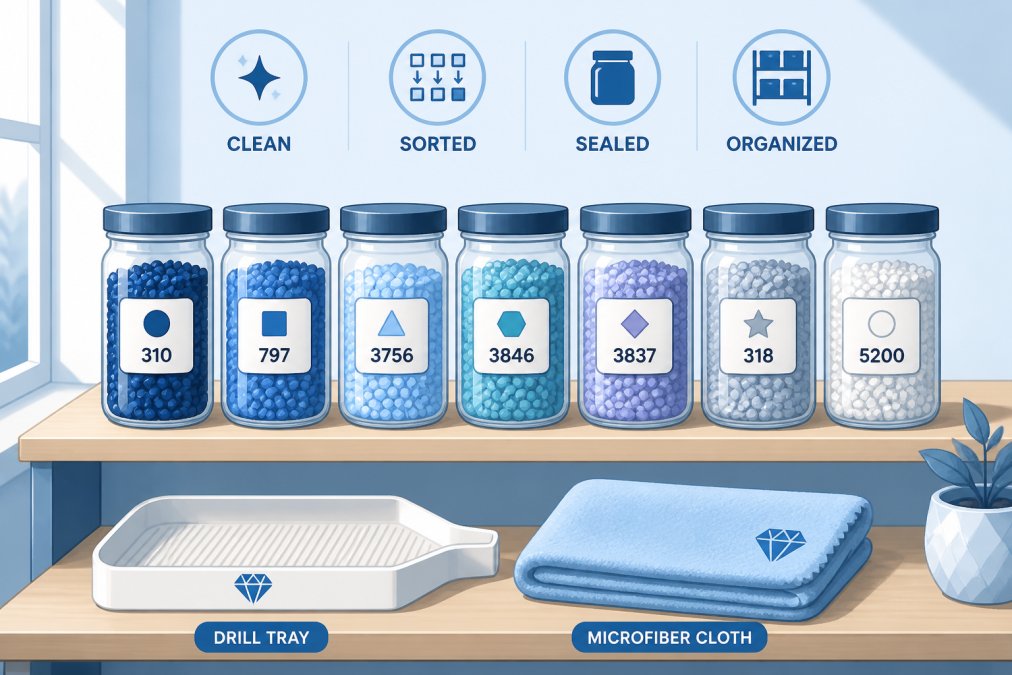
Store containers in a cool, dry location away from direct sunlight. Heat and UV light fade resin colors over time. Keep drills away from humidity sources like bathrooms or kitchens. Include a small silica gel packet in each storage container to absorb residual moisture and maintain a dry environment. Replace packets every 6-12 months.
Best Tools for Diamond Painting Maintenance
Drill applicator pens deserve maintenance too. Clean the tip after each session with a baby wipe to remove sticky residue. A clean tip grabs drills more reliably and places them more precisely.
Mesh strainers are workhorses for cleaning. Invest in one with fine mesh (1mm holes or smaller). Stainless steel strainers resist corrosion and last indefinitely.
Lint-free cloths are non-negotiable. Microfiber cloths are affordable, washable, and don't generate static. Buy several so you always have clean ones available.
Storage containers directly impact drill longevity. Glass containers with airtight seals prevent moisture and dust infiltration. Avoid plastic containers that generate static electricity.
Tweezers with fine, flat tips remove stubborn debris without damaging drills. Keep a pair dedicated to your diamond painting supplies.
Jeanne Argent Atelier includes specialized drill pens and trays with premium full-drill kits, designed specifically for serious painters.
Common Mistakes to Avoid When Cleaning Drills
Using hot water damages resin beads. Extreme heat can warp, discolor, or cause surface cracking. Stick to warm water.
Scrubbing aggressively scratches the resin surface, creating dull spots. Gentle agitation is sufficient.
Leaving drills wet invites static electricity problems and redeposits dust. Always dry completely before storage.
Using scented or alcohol-based baby wipes can damage resin or leave residue. Choose unscented, alcohol-free formulas.
Storing drills in plastic containers leads to clumping within days. Glass or ceramic containers are worth the investment.
Mixing colors during cleaning creates sorting headaches later. Clean colors separately or use a divided strainer.
Forgetting to label storage containers means wasted time identifying colors later. Label immediately after storage.
Drying drills in direct sunlight fades vibrant colors over time. Room-temperature air drying in indirect light preserves color intensity.
Troubleshooting Damaged or Clumped Drills
Permanently clumped drills that don't separate after washing may have dried adhesive between beads. Soak these in warm soapy water for 5-10 minutes, then gently work them apart under running water. If they still won't separate, discard and replace with fresh drills.
Drills with visible cracks or cloudiness have likely been damaged by heat, harsh chemicals, or impact. These should be replaced rather than used.
Discolored drills that turned dull or brown may have been exposed to heat or certain cleaning chemicals. Try soaking in rubbing alcohol for 2-3 minutes, then rinse thoroughly and dry completely.
Drills that remain sticky after cleaning may have been contaminated with non-water-soluble substances. Try soaking in rubbing alcohol (70% isopropyl) for 5 minutes, then rinse thoroughly with warm water and dry completely. If stickiness persists, discard and replace.
When in doubt, replace problematic drills.
Cleaning diamond painting drills isn't complicated, but it's essential for maintaining the quality and enjoyment of your creative work. The process takes minutes and uses supplies you likely already have at home. Once you establish a maintenance routine, keeping drills clean becomes automatic. Jeanne Argent Atelier's premium full-drill kits come with specialized tools designed to minimize debris transfer and sticky buildup, making maintenance easier from the start. Discover how quality equipment and proper care techniques elevate your entire diamond painting experience.
Frequently Asked Questions
Can you wash diamond painting drills with soap and water?
Yes, you can safely clean diamond painting drills with warm water and dish soap. Fill a small bowl with warm water, add a few drops of non-toxic dish soap, and gently swirl your drills in the mixture. Use a mesh strainer to contain them and rinse thoroughly under running water. This method removes sticky residue and oily coating without damaging the acrylic beads. Always air dry completely before storage or use.
What do you do with leftover drills from diamond painting?
Store leftover drills in airtight containers labeled by color to keep them organized and dust-free. Sort them by shade using your original drill tray or small compartmentalized boxes. Store containers in a cool, dry place away from direct sunlight to prevent color fading. Many crafters save leftover drills for future projects or color-matching needs. Clean and dry your drills before storage to prevent de-clumping issues and surface tension buildup that causes sticking.
How do you remove dust from diamond painting drills?
Use compressed air with a vacuum attachment to gently blow dust away from your drills while catching debris. Alternatively, place drills in a mesh strainer and use a soft brush to gently remove dust particles. For stubborn debris, baby wipes work well for quick spot cleaning without requiring a full wash. Avoid touching drills with bare hands as skin oils transfer to the beads and attract more dust. A lint-free cloth also helps remove surface dust before storage.
What should you avoid when cleaning diamond painting drills?
Avoid harsh chemicals, bleach, or abrasive cleaners that can damage acrylic beads or strip their coating. Don't use hot water, which can warp the drills or cause them to lose their sparkle. Never soak drills for extended periods or use a regular cloth that sheds lint. Avoid touching wet drills with your bare hands, as skin oils cause sticking. Don't air dry drills in direct sunlight, which can fade colors and create static electricity buildup. Keep drills away from heat sources and humidity during storage.
This article was written using GrandRanker