1 September 2026
How to Make Diamond Painting Sparkle More
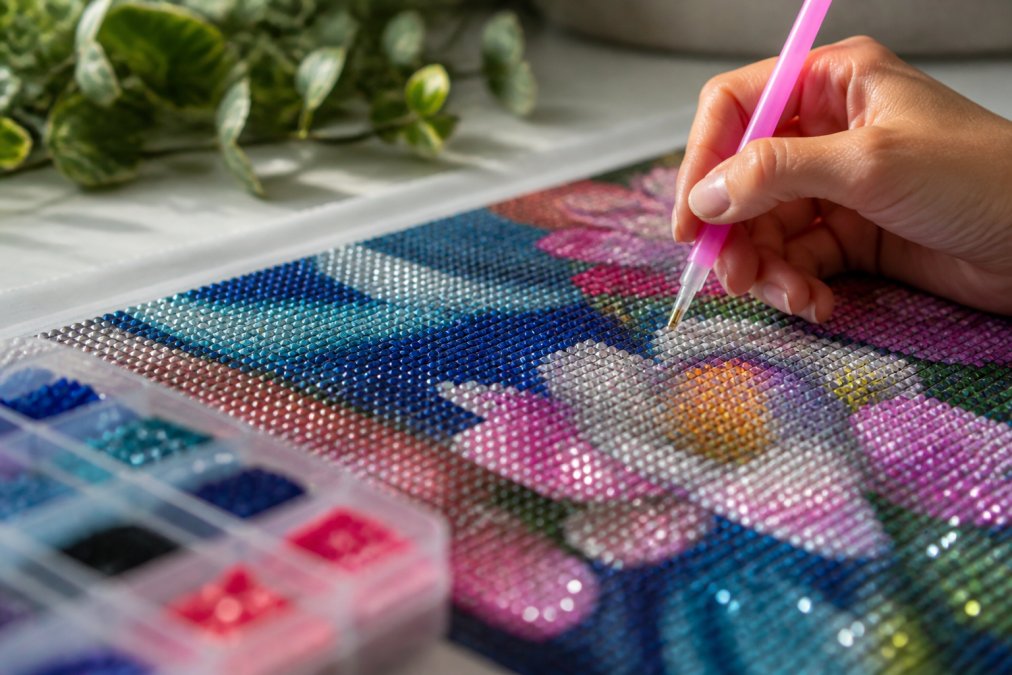
Table of Contents
- Why Diamond Painting Loses Sparkle Over Time
- How Light Refraction Affects Your Diamond Painting's Brilliance
- Step-by-Step Process to Seal Your Diamond Painting Without Losing Sparkle
- How to Fix Gaps in Diamond Painting to Improve Sparkle
- Common Mistakes That Dull Your Diamond Painting's Shine
-
Restoring Lost Sparkle to Older Diamond Paintings
- Step 1: Diagnose the Root Cause of Sparkle Loss
- Restoration Path 1: Dust Accumulation (No Sealant Removal Needed)
- Restoration Path 2: Sealant Yellowing or Cloudiness (Sealant Removal Required)
- Restoration Path 3: Drill Damage (Limited Restoration Possible)
- Prevention: Protect Your Sealed Painting Long-Term
- Lighting Setup to Maximize Your Diamond Painting's Brilliance
- Frequently Asked Questions
Last Updated: September 1, 2026
Why Diamond Painting Loses Sparkle Over Time
Your diamond painting starts with brilliant, faceted drills catching every ray of light. Weeks or months later, the sparkle dulls and the canvas looks cloudy. This happens because dust accumulates on the drill surfaces, static electricity attracts fibers to the facets, and gaps between drills trap light instead of reflecting it. Without a protective layer, your masterpiece gradually loses its refractive properties.
The good news: this is entirely preventable. Sealing your diamond painting properly preserves that initial brilliance and protects your work from environmental damage. Understanding why sparkle fades is the first step toward keeping your diamond painting luminous for years.
How Light Refraction Affects Your Diamond Painting's Brilliance
The sparkle you see depends entirely on how light bends through the faceted drills. AB drills, coated on one side to create an iridescent effect, are engineered to refract light at specific angles. When those facets stay clean and exposed, light bounces through them and reflects back to your eye, creating that signature brilliance. But dust, moisture, and gaps between drills reduce the effective refractive index, light stops bouncing the way it should.
Understanding Drill Type and Sparkle Potential
Not all drills sparkle equally. Standard round drills have a uniform refractive index throughout the plastic, while AB drills have a specialized coating that splits white light into a spectrum. Faceted drills (typically 16-facet cuts) refract light more aggressively than round drills because the angled surfaces create more light-bending opportunities. AB faceted drills have the highest sparkle potential, while unfaceted round drills have the lowest. When you seal a painting, you're preserving whatever sparkle potential the drill type already has, a sealant cannot add sparkle to a low-quality drill, but it can prevent sparkle loss in a premium one.
How Sealants Interact with Drill Coatings
A sealant creates a protective barrier that keeps dust and moisture away from the drills and fills microscopic gaps, creating a uniform surface that helps light refract consistently across the entire painting. However, chemical compatibility between the sealant and the drill coating is critical. Some acrylic varnishes contain solvents that can soften or dissolve the AB coating on premium drills, causing the iridescent effect to fade or become cloudy. Water-based acrylic varnishes with high resin content (typically 30% or higher) are generally safer and adhere better to plastic facets without degrading the coating (peer-reviewed research).
The key is choosing a sealant engineered for plastic surfaces and testing it on a small, inconspicuous corner of the canvas first. Apply a thin coat to a 1-inch square, let it cure for 48 hours, and inspect it under bright light. If the drills remain bright and faceted, the sealant is compatible. If they appear cloudy or yellowed, the sealant is incompatible.
Matte vs. Glossy Finishes and Light Scattering
A matte finish sealant will reduce sparkle by design. Matte finishes contain matting agents that scatter light in all directions instead of reflecting it back to your eye. A glossy finish preserves and amplifies sparkle because it creates a smooth, reflective surface that bounces light back at a consistent angle. Semi-gloss finishes offer a middle ground, they reduce glare slightly while preserving most of the sparkle. For maximum brilliance, glossy is always the better choice.
Step-by-Step Process to Seal Your Diamond Painting Without Losing Sparkle
Sealing your diamond painting is straightforward if you follow a methodical approach. The process takes about 30 minutes of active work, plus curing time.
Prepare Your Canvas and Drills
Start by ensuring your canvas is completely filled. Walk through the entire painting under good lighting and fill any obvious gaps with matching drills. Next, clean the surface gently using a damp brush (barely damp, not wet) to sweep across the drills in one direction. This removes loose dust and fibers without disturbing the drills. Let the canvas dry completely before moving to the next step.
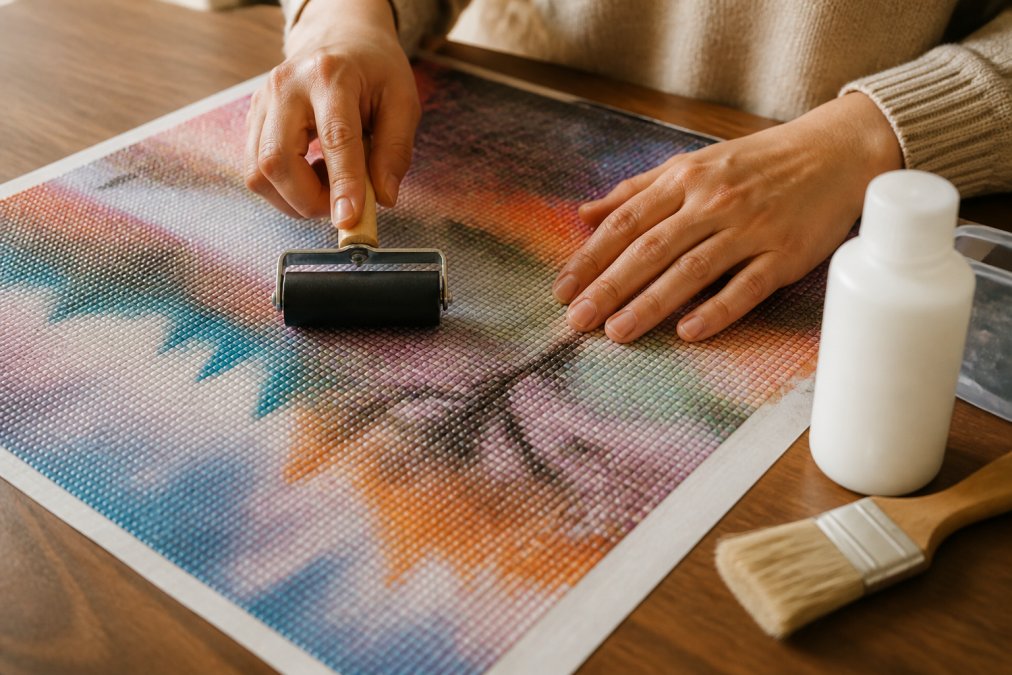
Use a brayer to press the drills down firmly into the adhesive. This ensures maximum adhesion between the drill and canvas, which prevents drills from popping off after sealing.
Choose and Apply the Best Sealant for Diamond Painting
The best sealant for diamond painting is an acrylic varnish with a glossy finish. Acrylic varnish is non-toxic, water-based, and dries clear without yellowing. Apply the sealant with a wide, soft brush in thin, even coats. Two thin coats work better than one thick coat, which is more likely to trap bubbles. Brush in one direction across the entire canvas, then let it dry before applying the second coat.
Avoid sealants marketed as "matte," as these scatter light and dull your sparkle. Glossy or semi-gloss finishes preserve the faceted brilliance of the drills. Test your chosen sealant on a small, inconspicuous corner first to ensure chemical compatibility.
Cure and Set Your Sealant Properly
Most acrylic varnishes need 24 hours to fully set (the FDA). Don't rush this step. Store the sealed painting flat or at a slight angle while it cures. Once fully cured, your sealant creates a protective layer that locks in the sparkle and shields the drills from dust and moisture for years.
How to Fix Gaps in Diamond Painting to Improve Sparkle
Gaps between drills are one of the biggest sparkle killers because light passes through them instead of reflecting back. Filling these gaps before sealing is essential.
Start by identifying gaps under good lighting. Use a magnifying glass if needed; small gaps add up to noticeable dullness. For small gaps, use a drill pen to place matching drills directly into the remaining adhesive on the canvas. If the adhesive is dried out, apply a small amount of fresh adhesive first, then place the drill and press firmly with your brayer.
For larger gaps or areas where adhesive has worn away, you can add new adhesive and fill with drills, or accept that those areas will be sealed as gaps. Sealing over gaps is fine, the sealant will fill them and create a smooth surface. However, those sealed gaps will always be slightly less sparkly than areas with drills, because the sealant alone doesn't refract light as effectively as a faceted drill.
Common Mistakes That Dull Your Diamond Painting's Shine
The most frequent mistake is applying too much sealant at once. A thick, single coat traps air bubbles and creates a bubbly finish that scatters light instead of reflecting it. Always use thin coats and let each one dry before applying the next.
Another common error is using the wrong type of sealant. Matte finishes kill sparkle by design. If you want your diamond painting to shine, stick with glossy or semi-gloss acrylic varnish.
Sealing over dust is another pitfall. If you don't clean the surface before sealing, dust gets locked under the sealant, creating a permanently cloudy look. Take five minutes to brush the canvas gently with a damp brush before you start.
Some crafters seal too early, before the drills are fully adhered to the canvas. Wait at least 24 hours after completing the painting before sealing, and use a brayer to press drills down firmly first.
Finally, don't skip the test step. A small test patch on an inconspicuous area takes 30 seconds and can save you from ruining the entire painting with an incompatible sealant.
Restoring Lost Sparkle to Older Diamond Paintings
If your diamond painting has already lost sparkle, restoration is possible, but the approach depends entirely on diagnosing what caused the loss. Sparkle degradation has three distinct causes, and treating the wrong one wastes time and risks further damage.
Step 1: Diagnose the Root Cause of Sparkle Loss
Test for dust accumulation: Gently wipe a small, inconspicuous area with a soft, barely-damp microfiber cloth. If the wiped area appears noticeably brighter than the surrounding surface, dust is the culprit.
Test for sealant cloudiness: If the painting is already sealed and the entire surface appears uniformly dull or hazy, the sealant itself has likely yellowed or become cloudy. This happens when incompatible sealants react with drill coatings, or when UV exposure degrades the sealant over time.
Test for drill damage: Examine the drills under bright, direct light using a magnifying glass. If the facets appear scratched, flattened, or the AB coating is visibly peeling or discolored, the drills themselves are damaged.
Restoration Path 1: Dust Accumulation (No Sealant Removal Needed)
If dust is the problem, use a soft-bristled brush or microfiber cloth to gently sweep across the entire painting in one direction. For stubborn dust, lightly dampen the cloth with distilled water. Work in small sections, wiping in the same direction each time. Once the surface is clean, inspect it again under bright light. If the sparkle has returned to acceptable levels, you're done. If the painting is unsealed, consider applying a glossy acrylic varnish now to protect against future dust accumulation.
Restoration Path 2: Sealant Yellowing or Cloudiness (Sealant Removal Required)
If the sealant itself has failed, you'll need to remove it and reapply a fresh coat.
Gentle sanding method: Start with 400-grit sandpaper. Wet the sandpaper slightly and sand the surface in light, circular motions. The goal is to dull the surface and break the sealant's adhesion, not to remove it entirely. After 2-3 minutes of light sanding, wipe the surface with a damp cloth and inspect it. If the cloudiness has reduced, continue sanding. If the drills are starting to show through, stop immediately.
Once the sealant is sufficiently dulled, use a clean, damp cloth to wipe away all sanding dust. Let the painting dry completely (at least 2 hours) before proceeding. Then apply a fresh coat of glossy acrylic varnish using the thin-coat method.
Restoration Path 3: Drill Damage (Limited Restoration Possible)
If the drills themselves are scratched or the AB coating is peeling, full restoration is not possible. If only a small area is damaged, replace those drills with fresh ones using a drill pen. If the damage is widespread, apply a fresh glossy sealant to lock in whatever sparkle remains.
Prevention: Protect Your Sealed Painting Long-Term
Display your painting away from direct sunlight, which causes UV damage to sealants and fades AB coatings over time. If your painting must be in a sunny location, frame it behind UV-protective glass. Dust the surface gently every 3-6 months with a soft, dry brush. Avoid touching the sealed surface with bare hands, as skin oils can leave fingerprints. Store paintings flat in a cool, dry place if not on display, and avoid extreme temperature or humidity fluctuations.
Lighting Setup to Maximize Your Diamond Painting's Brilliance
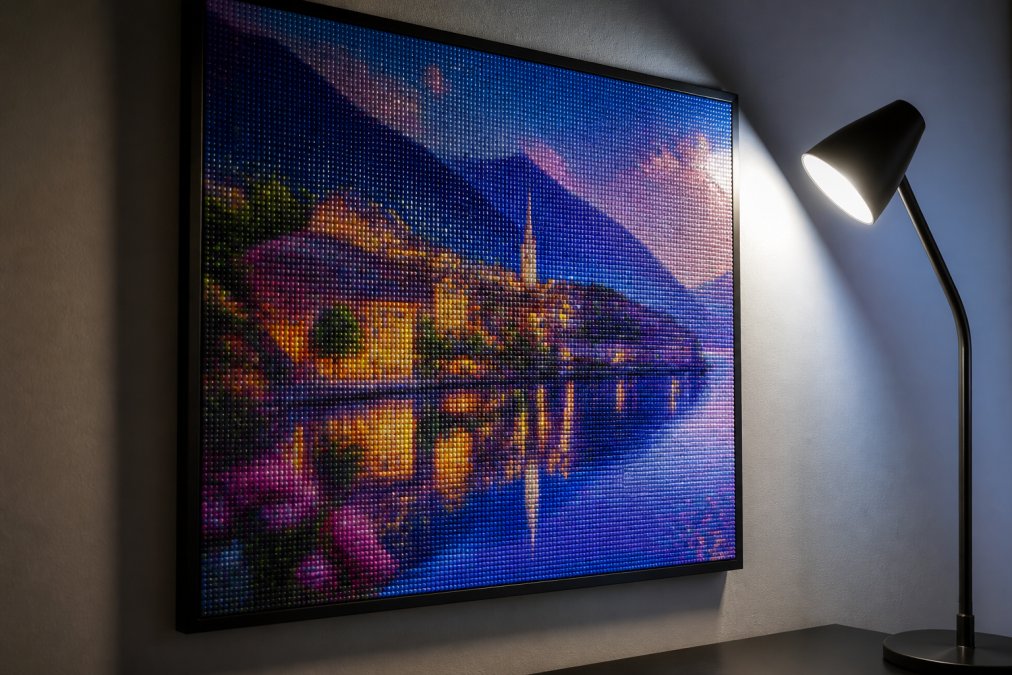
Even a perfectly sealed diamond painting won't sparkle if the lighting is wrong. Position your light source at a 45-degree angle to the painting, not directly in front of it. Direct overhead lighting creates glare that washes out the sparkle.
Lighting temperature matters significantly. Warm LED lights (2700K-3000K color temperature) soften the sparkle and make the painting look muted (peer-reviewed research). Cool white lights (4000K-5000K) enhance the brilliance of the faceted drills and make AB drills show their iridescent properties more vividly.
Avoid placing your diamond painting in direct sunlight for extended periods. While sunlight shows off the sparkle beautifully in the moment, UV exposure can cause the sealant to yellow and the drills to fade over time. If your painting is in a sunny room, position it where it gets indirect natural light, and use UV-protective glass if you're framing it.
Keeping your diamond painting brilliant requires attention to detail at every stage, from filling gaps and cleaning drills, to choosing the right sealant and lighting it properly. When you're working with a premium kit from Jeanne Argent Atelier, you're starting with superior drill quality and canvas clarity that makes the entire sealing process easier. Our specialized drill pens and trays are designed to help you place drills precisely and maintain consistent adhesion throughout your project, which means fewer gaps to fill and a stronger foundation for sealing.
The sparkle in your diamond painting is worth preserving. Follow this guide, take your time with the sealing process, and your masterpiece will stay brilliant for years to come.
Frequently Asked Questions
How do I seal a diamond painting without losing sparkle?
The key is choosing a clear, non-yellowing sealant and applying it in thin, even coats. Water-based acrylic varnish or UV-protective resin work well for maintaining sparkle. Avoid thick applications, which can create a cloudy finish. Allow proper curing time between coats, and use a soft brush or sprayer for even coverage. Ensure your workspace is dust-free during application to prevent particles from settling on the wet sealant and dulling the shine.
What is the best sealant for diamond painting to maintain shine?
Water-based acrylic varnish and UV-protective clear resin are top choices. Acrylic varnish dries quickly and resists yellowing, while UV resin offers superior protection and a glossy finish. Both preserve the refractive properties of your drills. Avoid oil-based products, which can yellow over time and trap dust. Test any sealant on a small area first to ensure it doesn't create cloudiness. Glossy finishes enhance sparkle more than matte options.
Why does my diamond painting look dull after sealing?
Cloudiness typically results from applying sealant too thickly, using a product with poor clarity, or sealing in humid conditions. Dust particles trapped in wet sealant also create a hazy appearance. To prevent this, apply thin coats, use a high-quality glossy sealant, and work in a clean, dry environment. If your painting is already dull, you can restore sparkle by carefully sanding the surface with fine-grit sandpaper and resealing with a clearer product.
How do I fix gaps in diamond painting to improve overall light reflection?
Gaps reduce light refraction and make your painting look incomplete. Fill them by using a brayer to press drills firmly into place, checking for missed spots under good lighting. For persistent gaps, apply a thin layer of clear adhesive to the canvas and place additional drills. Ensure drills are fully seated and touching to maximize surface continuity. Proper initial placement with a quality brayer prevents most gaps. Once gaps are filled and drills are secure, your overall sparkle improves significantly.
This article was written using GrandRanker