5 September 2026
Best Diamond Painting Adhesive: 2026 Buyer's Guide
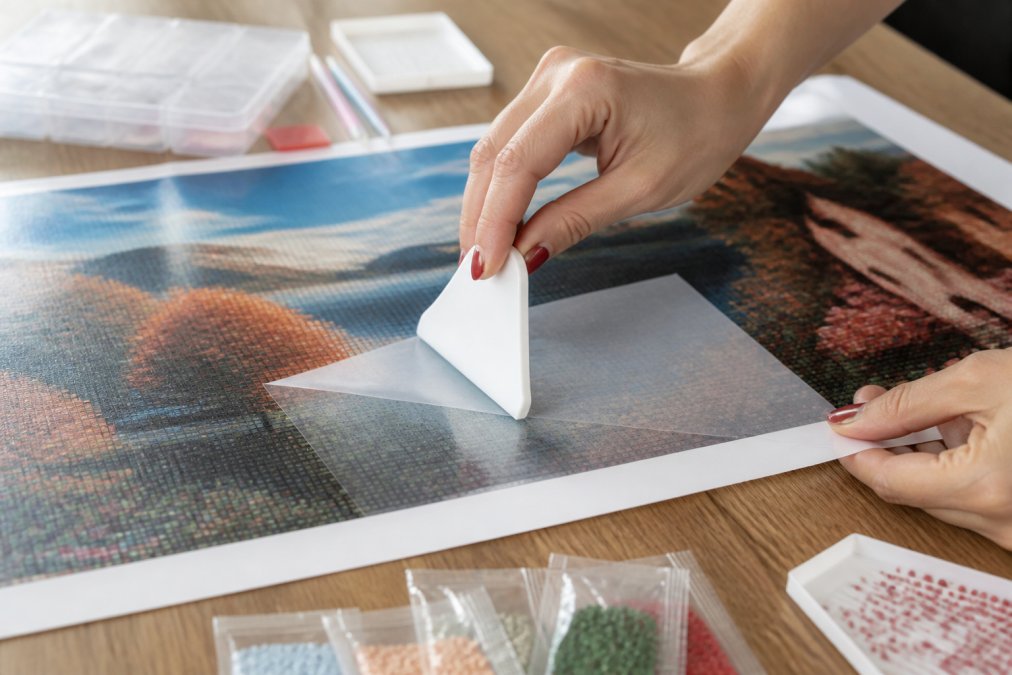
Table of Contents
- Poured Glue vs. Double-Sided Tape: Which Adhesive Is Best?
- What to Look For in a Diamond Painting Adhesive
- Top Diamond Painting Adhesive Options Compared
- How to Seal a Diamond Painting for Lasting Results
- Troubleshooting Diamond Painting Adhesive Issues
- Best Diamond Painting Kits for Adults in 2026
- Final Verdict: Choosing the Right Adhesive for Your Project
- Frequently Asked Questions
Last Updated: September 6, 2026
Choosing the wrong diamond painting adhesive can turn a relaxing hobby into a frustrating battle with popping drills and sticky residue. The best adhesive depends on your project stage: a high-tack poured glue canvas for application, and a clear, brush-on sealant for finishing.
The adhesive debate is really two separate questions: what holds your drills during creation, and what protects them after. Confusing them leads to ruined canvases. Below, we break down the differences between poured glue and double-sided tape, what specifications matter, and how to troubleshoot common adhesive problems.
Poured Glue vs. Double-Sided Tape: Which Adhesive Is Best?
Poured glue is the superior choice for diamond painting canvases because it provides a consistent, high-tack surface that holds drills securely from the first row to the last. Double-sided tape, which some budget kits still use, applies adhesive in strips with gaps between them. Those gaps create weak points where drills sit unevenly or pop off weeks later.
This distinction matters most for large, full-drill projects. A poured glue canvas distributes adhesive evenly, so every drill has the same holding power. Tape-based canvases often lose tackiness near edges or seams, which is why crafters report drills lifting in those spots.
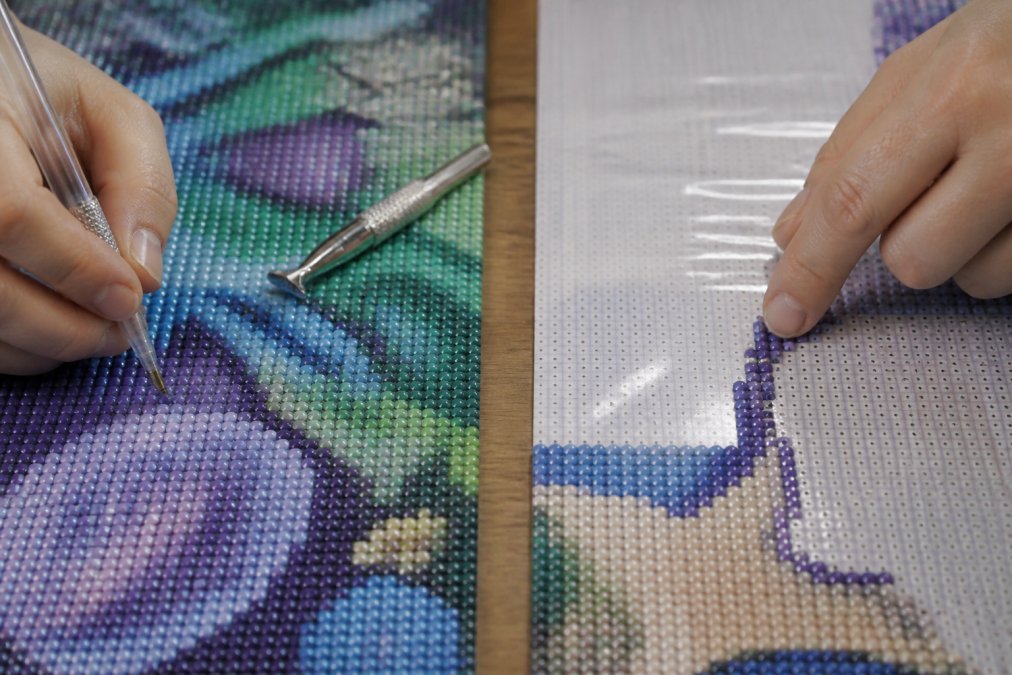
Water-based adhesives like PVA glue dominate the premium market because they offer strong initial tack without the harsh fumes or yellowing of solvent-based options (PubMed). High-quality canvases are cured for several days before shipping, preventing adhesive from migrating through the fabric and leaving oily stains.
What to Look For in a Diamond Painting Adhesive
A reliable adhesive should offer strong initial tack, a reasonable open time, and a finish that will not yellow. Initial tack is the immediate stickiness when you drop a drill; high-tack adhesives grab it instantly, reducing repositioning and keeping rows straight.
Open time is how long the adhesive remains workable. Some crafters prefer longer open time to slide drills into alignment; others want instant grab to speed up workflow. Knowing your preference helps you select the right canvas.
Transparency also affects your finished piece. A clear, water-based adhesive lets printed symbols show through brightly, making chart reading easier. Cloudy or yellowing adhesives obscure symbols and force you to squint at the reference guide.
| Adhesive Property | What It Controls | Why It Matters |
|---|---|---|
| Initial tack | How fast drills stick | High tack speeds up placement |
| Open time | How long you can reposition | Longer open time aids alignment |
| Transparency | How clear the canvas symbols stay | Clear adhesive is easier to read |
| Curing time | When the canvas is ready to use | Uncured glue shifts drills |
Top Diamond Painting Adhesive Options Compared
The market splits into two categories: adhesives built into the canvas and sealants applied after finishing. For canvases, the Paint With Diamonds Poured-Glue Collection stands out with its hand-poured, high-tack formula that reduces drill pop-off. It costs more than entry-level kits, but consistent quality justifies the premium for serious crafters.
For sealing completed work, the Diamond Dotz Stick Adhesive is a clear-drying formula for diamond art; this 4oz bottle works well for puzzles and smaller projects, though not for applying drills to blank canvases. The LANBEIDE Diamond Painting Sealer offers 200ML with a silicone brush, providing permanent hold with a shiny finish.
The ARTDOT Diamond Painting Sealer offers shiny and frosted finish options plus washable formulas. Its protective barrier shields projects from dust. When choosing, consider what you value: a glossy finish that amplifies resin drills, or a matte finish that reduces glare under light.
How to Seal a Diamond Painting for Lasting Results
Sealing a diamond painting protects drills from popping off and the canvas from dust. The choice of sealant and application method determines how your piece looks in five years. Begin by ensuring the surface is clean; gently press down any raised drills with a flat tool so they sit flush.
Choosing Between Brush-On, Spray, and Roller Sealants
Brush-on sealants offer the most control and are the default for most crafters. Water-based acrylics like Liquitex Professional Gloss Varnish dry clear and flexible, which matters since canvases can flex when framed. Pour a small amount into a separate dish to prevent contamination. Work in sections with smooth, overlapping strokes; a thin, even layer is better than a thick one, since excess can dull drill facets.
Spray sealants like Krylon Kamar Varnish work well for large pieces where brush marks are a concern. Hold the can 10 to 12 inches away and apply two light coats. The trade-off is less control near edges, and overspray can leave a hazy film. Always spray outdoors or in a garage with the canvas laid flat.
Roller application is a newer technique for full-coverage uniformity. Use a small foam roller, dip it lightly in sealant, and roll in one direction. This minimizes pooling but requires practice to avoid lifting drills with the roller's tack.
Understanding Finish Options: Gloss, Matte, and Satin
The finish changes the final appearance. Gloss sealants amplify sparkle but can create glare under direct light. Matte sealants reduce glare and give a softer appearance but can mute facets of lighter drills. Satin finishes split the difference, offering moderate shine with reduced glare.
Long-Term Durability: What a 1-Year-Old Sealed Canvas Looks Like
Most crafters report that a properly applied water-based acrylic sealant holds up well for years. Pieces sealed with a single thin coat show minor drill movement after 12 months, especially if rolled for storage. Two thin coats with 24 hours of drying between them significantly reduce this, as the second coat fills microscopic gaps.
Yellowing is the main long-term concern. Solvent-based polyurethane sealants yellow within 6 to 12 months, especially in indirect sunlight (the NIH). Water-based acrylics remain clear for years (the EPA). For bright rooms or near windows, choose a water-based formula with UV inhibitors, such as Golden Polymer Varnish with UVLS.
Curing time for most water-based sealants ranges from a few hours to overnight. Place the canvas flat and allow it to dry completely before handling or framing. Once cured, the sealant creates a durable, flexible barrier for years of display.
| Application Step | Recommended Action | Common Mistake |
|---|---|---|
| Surface prep | Press down raised drills | Sealing over loose drills |
| Sealant selection | Water-based acrylic for clarity | Solvent-based polyurethane |
| Sealant application | Brush in thin, even strokes | Applying too thick a layer |
| Drying | Leave flat overnight | Hanging before fully cured |
| Second coat | Apply after 24 hours for durability | Skipping for time savings |
Troubleshooting Diamond Painting Adhesive Issues
The most common problem is drills that refuse to stick, usually tracing back to insufficient tack or contamination from dust and skin oils. Wipe the canvas gently with a lint-free cloth, then test a drill. If it still will not adhere, the adhesive has likely degraded.
Repairing a Canvas That Has Lost Its Stickiness
A canvas with weak adhesive is frustrating but often salvageable. First, identify the extent of the problem by testing several areas, corners, center, and edges, to see if the loss is uniform or localized.
For localized dead zones, a precision applicator like the Nuvo Deluxe Adhesive Pen applies small dots of clear, acid-free glue that dries quickly and won't yellow. Apply a thin dot, wait 30 seconds for it to become tacky, then press the drill into place.
For widespread tack loss, the first option is a spray adhesive like Krylon Easy-Tack Repositionable Adhesive. Spray from 12 inches away in a sweeping motion, then wait 5 minutes for the solvent to flash off. It creates a temporary bond workable for about 30 minutes. Spray adhesives contain solvents, so work in a well-ventilated area.
The second option is a brush-on permanent adhesive like Mod Podge Ultra Matte Sealant to re-coat entire canvases. Apply an even, thin layer on a flat surface. The downside is that it permanently bonds drills, so you lose the ability to reposition. Most recommend this only when confident in your pattern reading.
Fixing Drills That Pop Off Weeks or Months Later
Drills popping off after completion points to a lack of sealant or adhesive that has lost grip. Applying a clear sealant after finishing solves this permanently. For rolled canvases, adhesive can lose tackiness along creases; flatten under heavy books for a day before starting.
If drills pop off an unsealed finished piece, press loose drills back into place, then apply a brush-on sealant over the entire surface to lock them in. For individual drills falling out of a sealed piece, use a fine-tip glue applicator to add a small dot beneath, then hold for 60 seconds.
Addressing Adhesive That Becomes Tacky or Sticky Over Time
Some canvases develop a sticky surface after months of storage, especially in humidity, when poured glue absorbs moisture. Place the canvas in a dry room with a dehumidifier for 24 to 48 hours. If stickiness persists, lightly dust with baby powder and brush off with a soft makeup brush.
Yellowing adhesive affects older canvases stored in direct sunlight; solvent-based adhesives are more prone than water-based. If your finished piece shows yellowing, the only reliable fix is to remove drills and transfer them to a new canvas, a tedious process underscoring the value of quality materials.
Best Diamond Painting Kits for Adults in 2026
For adults seeking a premium experience in 2026, the best kits combine high-quality adhesive canvases with tooling that reduces hand fatigue. Jeanne Argent Atelier excels here, offering full-drill kits made from original artwork. Each kit includes specialized drill pens and trays for smoother placement.
A full-drill kit demands every millimeter holds drills securely, and the poured glue surface delivers consistent tack. When you invest dozens of hours, the last thing you want is drills popping off because the manufacturer cut corners.
Jeanne Argent Atelier offers themes including animals, fantasy, and florals, ensuring artwork that resonates with your taste. The original art reproduces clearly, with symbols readable even in dim lighting, reducing frustration for those who craft to unwind at night.
Final Verdict: Choosing the Right Adhesive for Your Project
The best adhesive is a high-quality poured glue canvas for application, paired with a clear brush-on sealant for protection. These serve different purposes, and using them together keeps drills firmly in place for years. For beginners, prioritize high-tack canvases, since they forgive minor placement errors.
Consider environmental impact as well. Water-based adhesives like PVA glue have lower volatile organic compound content than solvent-based alternatives, making them more responsible for your home and health. They also clean up with soap and water, simplifying workspace maintenance.
Frequently Asked Questions
Why isn't my diamond painting adhesive sticking anymore?
Adhesive loses tackiness when exposed to dust, humidity, or prolonged air contact. Before you start, store your canvas rolled or flat in a sealed bag. If drills are popping off, press them down firmly with a roller. For a permanent fix, apply a clear sealant after finishing. If the canvas itself has dried out, you can apply a thin layer of a PVA-based craft glue, but test it on a corner first to ensure it dries clear and doesn't warp the canvas.
What is the best thing to use to seal a diamond painting?
A specialized diamond painting sealer is your best option. Products like Diamond Dotz Stick Adhesive or LANBEIDE Diamond Painting Sealer are formulated to dry clear and provide a flexible, durable finish that won't yellow over time. You can also use a water-based PVA glue, like Mod Podge, applied with a soft brush. Avoid solvent-based sealants, as they can damage the resin drills and the canvas print.
Does the type of adhesive affect the longevity of a diamond painting?
Yes. The factory-applied adhesive on the canvas is the first line of defense. A high-tack, poured glue canvas provides a stronger initial hold than many standard double-sided tapes, reducing the risk of drills popping off. Sealing the finished painting with a non-yellowing, water-based sealant protects it from dust, moisture, and UV damage, which is the key to ensuring your artwork stays vibrant and intact for years.
What can I use as an alternative to Diamond Dotz adhesive?
Several alternatives work well. A water-based PVA glue, such as Mod Podge, is a popular and accessible choice for sealing. For re-sticking loose drills, a permanent glue pen or a small amount of clear craft glue applied with a toothpick offers precision. If you need to re-tack an entire canvas, a spray adhesive designed for crafting can be used, but always apply it in a well-ventilated area and follow the manufacturer's instructions carefully.
How do I fix gaps in my diamond painting adhesive?
Gaps often appear when drills are placed incorrectly or the adhesive loses tack. First, try gently nudging the misplaced drills into alignment with a tweezer. If the adhesive is no longer sticky, carefully lift the drills in the affected area and use a permanent glue pen to add a small dot to the canvas before pressing the drills back down. For larger areas, a thin layer of clear craft glue can help secure the drills in place.
Choosing the right adhesive transforms diamond painting from a chore into a genuinely meditative craft. At Jeanne Argent Atelier, we build our premium kits around the quality that matters most: full-drill canvases with reliable poured glue, original artwork with clear symbols, and specialized drill pens that reduce hand strain during long sessions. Get started with Jeanne Argent Atelier and experience a diamond painting kit where the adhesive works as hard as you do.