26 August 2026
Full Drill Diamond Art: A Complete Guide
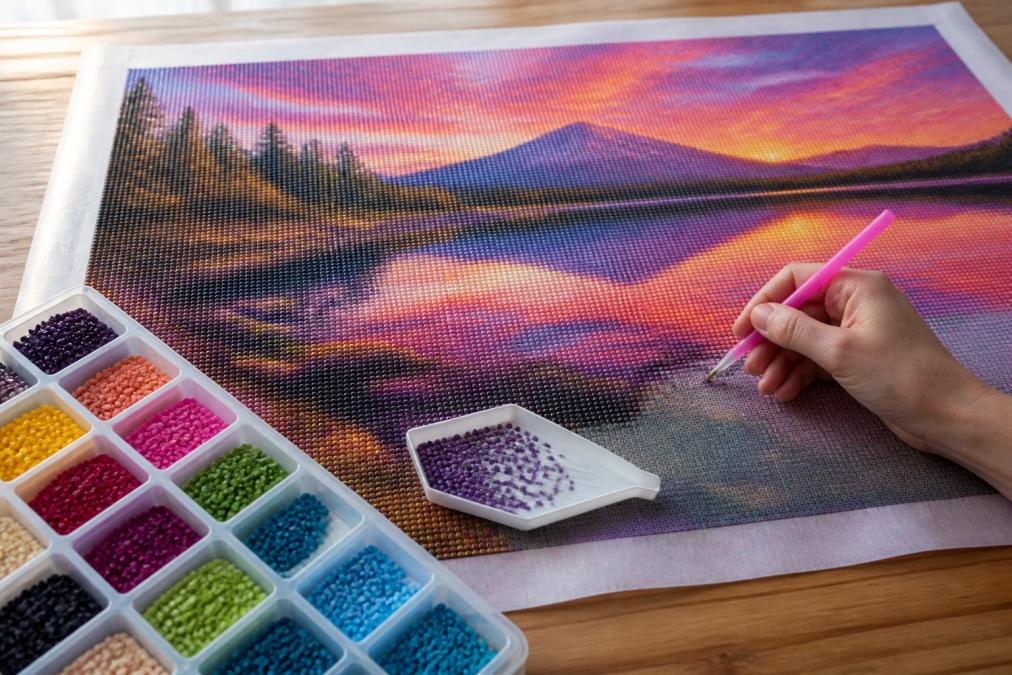
Table of Contents
- What Is Full Drill Diamond Art?
- Full Drill vs. Partial Drill: Key Differences
- Understanding Round vs Square Diamond Drills
- Diamond Painting vs Paint by Numbers
- Best Diamond Painting Tools for Beginners
- How to Complete a Full Drill Canvas
- Storage and Preservation of Your Finished Art
- Conclusion
Last Updated: August 26, 2026
What Is Full Drill Diamond Art?
Full drill diamond art is a craft where you cover an entire canvas with small diamond-shaped beads, creating a completely filled, glittering artwork with no blank spaces. You use an applicator tool to pick up individual diamonds from a tray and place them onto the adhesive surface, resulting in a gem art piece that sparkles from edge to edge.
This differs fundamentally from partial drill diamond painting, where only certain areas receive diamonds while the rest remains blank or printed. Full drill work requires more time and precision but delivers complete coverage and maximum sparkle. At Jeanne Argent Atelier, we specialize in full-drill kits crafted from original artwork, designed for serious crafters who want every detail visible and every inch of their canvas transformed into glittering art.
Many crafters find the repetitive, meditative process deeply relaxing. Placing each drill becomes a screen-free activity that quiets the mind while producing something genuinely beautiful. The tactile feedback as each diamond clicks into place creates a satisfying, present-moment experience.
Full Drill vs. Partial Drill: Key Differences
The core distinction between full drill and partial drill comes down to coverage. Full drill means every workable area receives diamonds. Partial drill leaves portions of the canvas blank or uncovered, typically showing the printed design underneath.
| Aspect | Full Drill | Partial Drill |
|---|---|---|
| Canvas Coverage | 100% covered with diamonds | 30-70% covered; rest shows print |
| Time Investment | 40-100+ hours depending on size | 10-30 hours depending on size |
| Final Sparkle | Maximum shimmer and dimension | Moderate sparkle in selected areas |
| Skill Level | Beginner-friendly to advanced | Beginner-friendly |
| Display Impact | Completely transformed; jewel-like | Balanced art with printed elements |
| Adhesive Strength | Requires reliable, long-lasting adhesive | Less critical; fewer drills to secure |
Coverage and visual impact separate these approaches most dramatically. A full drill canvas becomes an entirely new object, with the original printed design disappearing beneath the diamonds. Partial drill preserves the printed artwork as part of the final piece, using diamonds to accent specific elements.
Time commitment scales with coverage. Full drill projects demand more hours because you're placing significantly more diamonds. A 16x20 full drill canvas can easily require 80-100 hours, while the same size in partial drill might need 20-30 hours (peer-reviewed research).
Adhesive quality matters more in full drill work. When your entire canvas is covered with diamonds, weak adhesive becomes a problem. The adhesive must hold each drill securely for the lifespan of the piece.
Understanding Round vs Square Diamond Drills
Diamond painting uses two primary drill shapes: round and square, each creating a distinct finished look.
Round diamonds are circular beads with facets cut to catch light from all angles. They're slightly easier to pick up with an applicator tool because the rounded shape doesn't catch on the tip. The finished effect is softer, with light scattering across rounded surfaces. Many crafters find round drills more forgiving for beginners.
Square diamonds are precisely cut cubes with flat facets that pack tightly together on the canvas with minimal gaps, creating a seamless, tiled appearance. They demand more precision during placement but deliver sharper definition, more uniform coverage, and a polished, geometric aesthetic.
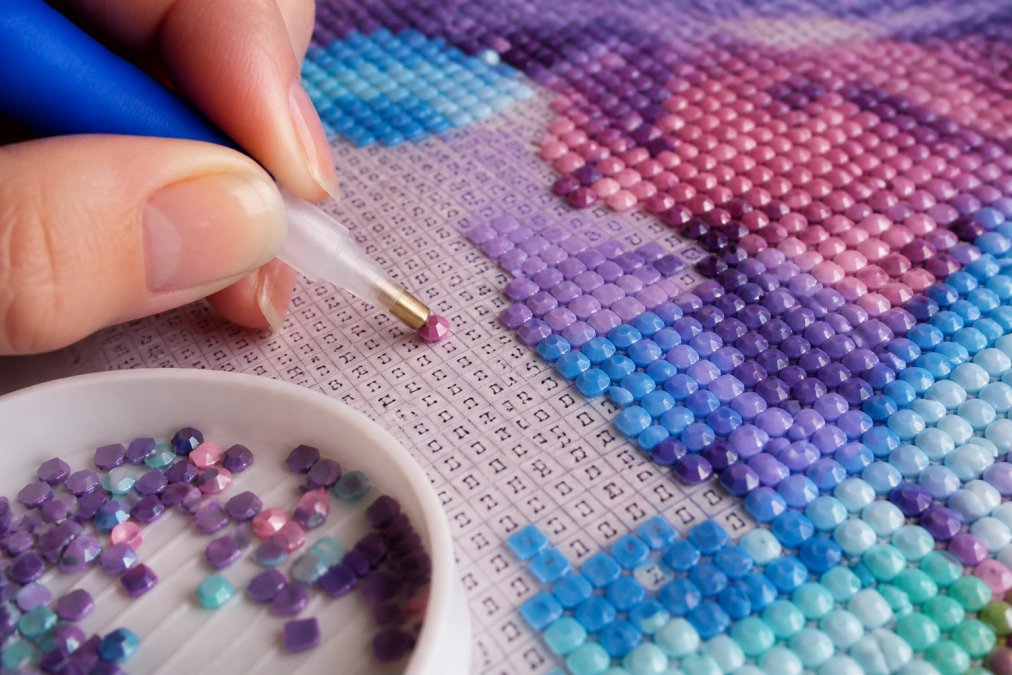
Coverage quality differs subtly between the two. Square diamonds align edge-to-edge with almost no gaps, creating uniform surface tension. Round diamonds, by nature of their shape, leave tiny spaces between drills. Square diamonds deliver a more uniform, almost metallic finish. Round diamonds create a gentler, more organic sparkle.
Preference often depends on your crafting style. Precision-focused crafters gravitate toward square diamonds. Crafters who value speed and ease often prefer round diamonds. At Jeanne Argent Atelier, we offer both options so you can select based on your artistic vision and crafting comfort level.
Diamond Painting vs Paint by Numbers
These two crafts share surface similarities but differ significantly in experience and results.
Paint by numbers uses actual paint and brushes. You receive a canvas printed with numbered sections, each corresponding to a paint color. The result is a painted artwork with brushstrokes and color blending. Paint by numbers teaches color theory and brush control.
Diamond painting uses adhesive, drills, and an applicator tool. You're placing pre-made diamonds onto a sticky canvas, following a color-coded legend. The finished piece is gem art, a glittering, dimensional object made entirely from diamonds. The tactile experience is completely different: the click and snap of each drill locking into place.
Skill requirements diverge sharply. Paint by numbers demands basic painting ability and brush control. Diamond painting requires patience and precision, but no artistic training. Anyone can place a diamond.
Time investment also differs. A paint by numbers project might take 15-40 hours. Diamond painting timelines vary: partial drill in 10-30 hours, full drill in 40-100+ hours.
The finished aesthetic is where these crafts diverge most completely. A painted canvas has color depth and the character of brushwork. A diamond painting canvas has pure sparkle, dimensional facets, and a jewel-like quality.
Best Diamond Painting Tools for Beginners
Your success in full drill diamond art depends heavily on your tools. The applicator pen, tray, and wax quality directly affect your work speed and enjoyment.
The applicator tool (drill pen) is your primary interface with the canvas. A quality pen has a comfortable grip that doesn't fatigue your hand during multi-hour sessions, a tip that picks up drills cleanly, and a mechanism that releases drills precisely. Cheap pens have tips that don't grip well, forcing you to stab repeatedly. Premium pens pick up drills on the first touch.
The tray holds your drills and keeps them organized by color. A shallow tray with compartments lets you see all your colors at once. The best trays have a slight slope so drills naturally settle toward the front, making them easy to access.
Wax quality determines how reliably drills stick to your applicator pen. Good wax has the right viscosity: it holds drills firmly on the pen but releases cleanly when you press them onto the canvas. Wax degrades over time, so quality matters.
Canvas adhesive is non-negotiable for full drill work. The entire canvas must maintain consistent stickiness throughout your project. Premium canvases use tacky adhesive that grips drills securely without damaging them.
Many beginners buy the cheapest kit available, but savings disappear when you spend twice as long placing drills because your pen doesn't work properly. Investing in quality tools transforms the entire experience. Jeanne Argent Atelier kits include specialized drill pens and trays designed specifically for full-drill work, ensuring you have the right tools from day one.
How to Complete a Full Drill Canvas
Completing a full drill canvas follows a consistent workflow, though individual crafters develop personal variations.
Step 1: Prepare your workspace. Lay your canvas on a flat, well-lit surface. Ensure your applicator tool, tray, and wax are within arm's reach. Good lighting is essential to see symbols clearly and distinguish colors accurately. Organize your drills by color in your tray, matching the legend on your canvas.
Step 2: Start with one color. Pick one color and complete all diamonds of that color across the entire canvas. This approach minimizes color switching, reduces placement errors, and creates visible progress quickly.
Step 3: Use the applicator tool correctly. Dip the tip into your wax, then pick up a single diamond. Press it gently onto the corresponding symbol on the canvas. Don't press hard; a gentle press is sufficient. Develop a rhythm: dip, pick, place, release.
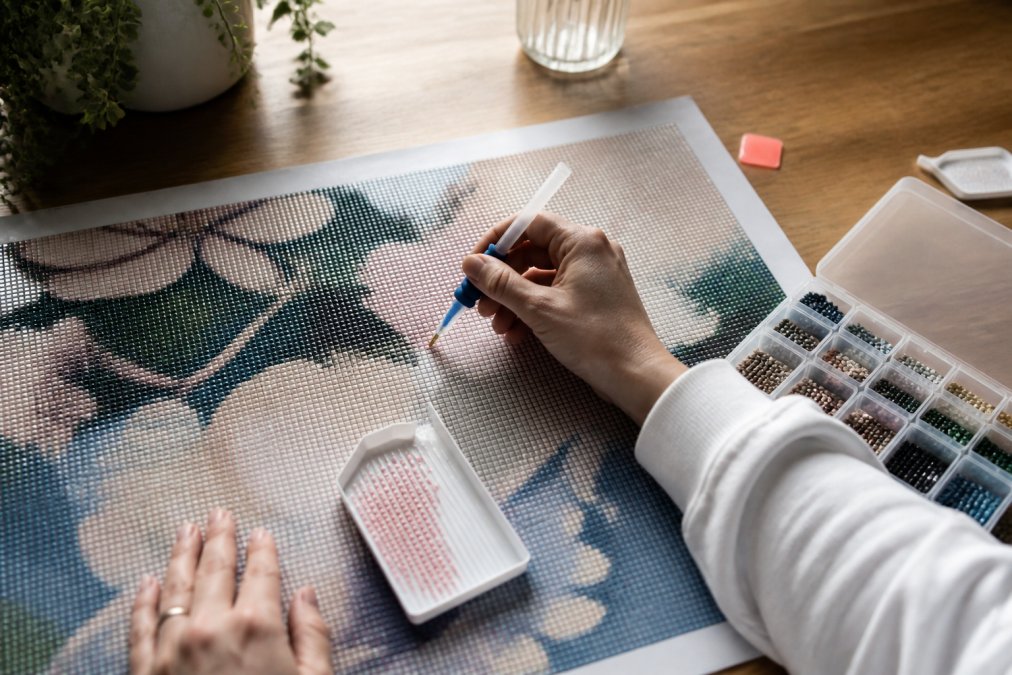
Step 4: Work in sections. Divide the canvas into sections (quarters, grids, or rows) and complete one fully before moving to the next. This creates natural stopping points and prevents the project from feeling overwhelming.
Step 5: Refresh your wax regularly. Every 30-45 minutes, wipe your wax on a clean cloth or replace it with fresh wax. Old wax picks up drills less reliably and slows your workflow.
Step 6: Take breaks. Stop every 60-90 minutes to stretch your hands and shoulders and rest your eyes. These breaks prevent fatigue and maintain consistent quality.
Typical timeline: Most crafters complete 50-100 drills per hour once they establish their rhythm (peer-reviewed research). A 16x20 full drill canvas contains roughly 6,400 diamonds. At an average pace of 75 drills per hour, expect 85-90 hours of active work.
Storage and Preservation of Your Finished Art
A completed full drill diamond painting is a delicate object. Proper storage and preservation ensure it remains beautiful for years.
Sealing the surface is the first preservation step. Apply a thin layer of clear varnish or resin over the finished canvas. This seals the drills, preventing them from shifting or popping off. A spray varnish works well with light, even coats. Allow the varnish to cure fully (24-48 hours) before framing or displaying (peer-reviewed research).
Framing options range from simple to elaborate. A basic frame with glass or acrylic protects the piece from dust and accidental contact. Many crafters use shadow boxes to display full drill work, which showcases the dimensional quality of the finished piece.
Storage for unframed pieces requires care. Lay the canvas flat in a cool, dry place. Never roll a finished full drill canvas; rolling creates pressure points that can pop drills. Store it in a rigid container or between two pieces of cardboard. Keep the piece away from direct sunlight, which can fade the printed design and degrade the adhesive.
Handling precautions matter. Always support the entire canvas when moving it. Avoid touching the diamond surface directly; oils from your skin can dull the sparkle. If dust accumulates, use a soft brush or microfiber cloth to gently clean the surface.
Humidity and temperature affect adhesive stability. Store your finished pieces in a stable environment, ideally between 60-75°F with moderate humidity. Avoid basements and attics.
Many crafters photograph their finished pieces before framing or storing them. A high-quality photo preserves the memory of your work and lets you share it digitally.
Full drill diamond art transforms a blank canvas into a glittering masterpiece that catches light and draws the eye. The process requires patience and precision, but the meditative rhythm and tangible results make it deeply satisfying. Whether you're seeking a relaxing creative outlet, a stunning piece of home decor, or a thoughtful gift, full drill work delivers on all fronts.
The quality of your kit determines how enjoyable the process becomes. Jeanne Argent Atelier's full-drill kits are crafted from original artwork with specialized drill pens and premium adhesive, ensuring that every hour you spend placing diamonds is rewarding. With the right tools and a clear understanding of the process, you're equipped to create artwork that rivals professional gem art installations.
Frequently Asked Questions
What does '5D' mean in full drill diamond painting?
The '5D' designation refers to the number of facets cut into each diamond drill. More facets create greater sparkle and light reflection, giving the finished artwork more dimension and brilliance. Full drill diamond art typically uses 5D drills, which provide a highly polished finish and enhanced visual impact compared to lower-facet alternatives. This makes the completed canvas more eye-catching and display-worthy.
Are round drills or square drills better for beginners?
Square diamond drills are generally better for beginners. They align more easily on the canvas grid, leave fewer gaps in coverage, and create a more uniform, polished appearance. Round drills offer a slightly different aesthetic with more sparkle between drills, but they require more precision during placement. For your first full drill diamond art project, square drills can provide a more forgiving learning curve.
How long does it take to complete a full drill diamond painting?
Completion time depends on canvas size, your experience level, and how much time you dedicate to the project. A small full drill canvas might take 10-20 hours, while larger pieces can require 40-100+ hours. Many crafters work on full drill diamond art over several weeks or months as a relaxing evening activity. The meticulous nature of full drill coverage means it takes longer than partial drill, but the complete, polished finish makes the investment worthwhile for serious hobbyists.
What makes full drill diamond art different from partial drill?
Full drill diamond art covers the entire canvas surface with diamond drills, creating a completely finished, sparkly artwork with no blank spaces. Partial drill kits leave sections of the canvas uncovered, reducing the time and materials needed. Full drill produces a more complete visual impact, making it a preferred choice for display pieces and serious crafters who want a polished final product.
This article was written using GrandRanker